Over time due to the accumulation of junk files, your PC might get slow. These are temporary files associated with the apps, cache, cookies, software leftovers, etc.
50% OFF

BLACK FRIDAY OFFERS
Unlock Black Friday Mega Savings — Systweak Tools FLAT 50% OFF!
Luckily, there are different ways to clean these unnecessary files and free up space. The time and effort you will need to invest will depend on the method you will use to clear junk files.
If you are the DIY type, you can use manual techniques. However, if you are short on time and don’t want to keep yourself busy sifting through every folder and deleting unwanted files, use Advanced System Optimizer.
The PC optimization will help find and delete unnecessary files. Also, it will help update device drivers, clean spyware, adware, malware, virus, duplicate files, browsing history, optimize disk, identify large files, securely delete files, recover them, manage startup items, uninstall potentially unwanted files, and more.
So, read along carefully to learn about the best PC cleaning tool, how to use it, and how to use the manual. By the end of the post, we are certain you will be able to clean your PC and optimize it for fast performance.
Common Types of Junk Files
- Temporary Files – These files are created using apps and the system. Although they are automatically deleted on each restart, sometimes they aren’t. You must manually look for them and clean them to de-clutter the PC.
- Temporary Internet Files – The browser creates these files to speed up webpage loading time and is called browser cache.
- Application Leftovers – When software is uninstalled, some of its corresponding files are left behind. These files are useless and should be deleted to keep the PC clean.
- Recycle Bin Files – Deleted files that remain in Recycle Bin. Thus giving you a chance to restore deleted data.
- Thumbnails – These files help quickly load previews of images and videos. Deleting them might take slightly longer to load the pictures and video.
- Windows Upgrade Log Files – During Windows updates, Windows creates logs of the activity performed. These files help troubleshoot, but you can delete them if Windows works fine after the upgrade.
Benefits of Cleaning Junk Files?
Free Up Space – Junk files, as the name explains, are files that the PC no longer uses. Yet, they occupy unnecessary space on space. If you are running low on space or the PC is performing slow and sluggish, you should consider cleaning junk files from Windows 11 & 10.
Enhance system performance – A computer filled with clutter and unmanageable data puts extra load on processing and system resources. Deleting junk files helps manage the data, speed up downloads, virus scanning, and system speed.
Clean infections – Junk files can work as a home for malware files to hide, meaning you should get rid of them ASAP before hackers can take advantage of junk files.
How To Get Rid of System Junk on Your PC
There are multiple ways to delete junk files from your computer, and most of them coincide. Here we will explain the best ways to clear temporary files from Windows 11 and 10.
Method 1 – Empty the Recycle Bin
One of the most common yet overlooked ways to clean up junk files is to empty Recycle Bin. Every file you delete from the PC is moved to Recycle Bin. They sit here unless the Recycle Bin is emptied. To clean it, follow these steps:
- On the Windows desktop, look for Recycle Bin.
- Double-click on it to open.
- Before you, empty Recycle Bin, cross-check all the files because once you empty it, you can no longer manually restore files. To retrieve them, you will have to use data recovery software.
- Select the files and folder you want to clear and press the Delete button.
- Confirm the action, and that’s all.
Tip : If you are okay losing your one chance to recover accidentally deleted files and don’t want files to move to Recycle Bin, use Shift + Delete to remove files and folder. This will save you from accumulating junk data.
Method 2 – Use Cleanup Functionality
Alongside clearing the Recycle Bin, if you are Windows 11 user, you can clean junk files using Cleanup recommendations. To do so, follow these steps:
- Press Windows + I to open Windows settings.
- Double click System > Storage > Cleanup recommendation.

- Let the Scan run and show temporary, large, and unused files that you can clean to free up storage space.
- Select them and click Clean up.

- This will help deal with Temporary files. In addition, you can see the space Apps & features and Other programs are taking up.
You can also Configure Storage Sense by clicking the Storage Sense option.

This will keep Windows running without any problem. To clean files using Storage Sense, enable the option > check the box next to Keep Windows running smoothly by automatically cleaning up the temporary system and app field. > and enable Storage Sense under Automatic User Content Cleanup.

Method 3 – Run Disk Cleanup
To clean unnecessary data, junk files and temporary files, all versions of Windows comes with built-in Disk Cleanup. With its help, you can eliminate cache, temporary internet files, and thumbnails.
- In the Windows search bar, type Disk Cleanup > select and open it.
- Select the drive you wish to scan and click Ok.
- You will not get a life of unwanted files you can remove. Select the files and click Ok.

- Select Clean up system files > select the drive again > wait a few seconds for Windows to calculate the space you could restore by deleting these junk files.
- Choose the files you want to remove > select OK > Delete Files.
Method 4 – Clean Temporary Files Using File Explorer
- Press Windows + R and open the Run window.
- Type %temp% and press the Enter key.
- You’ll get a folder with temporary files in just a few seconds.
- Select all files by pressing Ctrl + A and pressing the Delete key.
Method 5 Deleting Junk Files Using Third Party Cleanup Tool – Advanced System Optimizer
The above methods aren’t the only way to clean junk files. You can use PC junk cleaner to delete junk files on Windows 10 & 11.
Advanced System Optimizer is a fine PC tuner that helps clean junk files, invalid registry entries, defrag disk and perform various other operations. With its help, you can keep the clean, optimized, and working like new. To use it, you will need to follow the steps given below:
- Download and install Advanced System Optimizer.
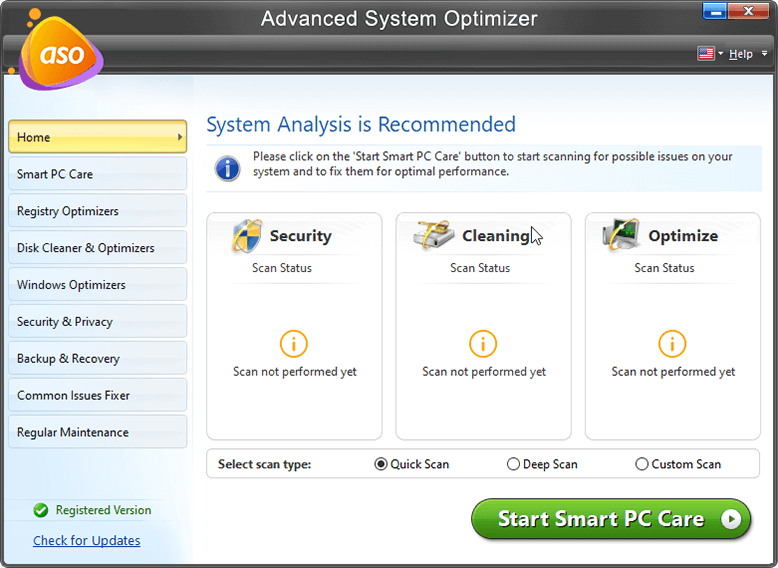
- Launch Advanced System Optimizer to scan the PC for errors. The PC cleanup tool offers three scanning modes – Quick, Deep, and Custom. If it’s your first time, we suggest Deep Scan. Although it will be time-consuming, you can use it when the system is idle.

The trial version of Advanced System Optimizer is fully functional for 24 hours. This means you can use all the features for 24 hours and optimize your PC.
Once the trial version expires, you can only use Startup Manager and Uninstall Manager, create a schedule, and create a registry backup.
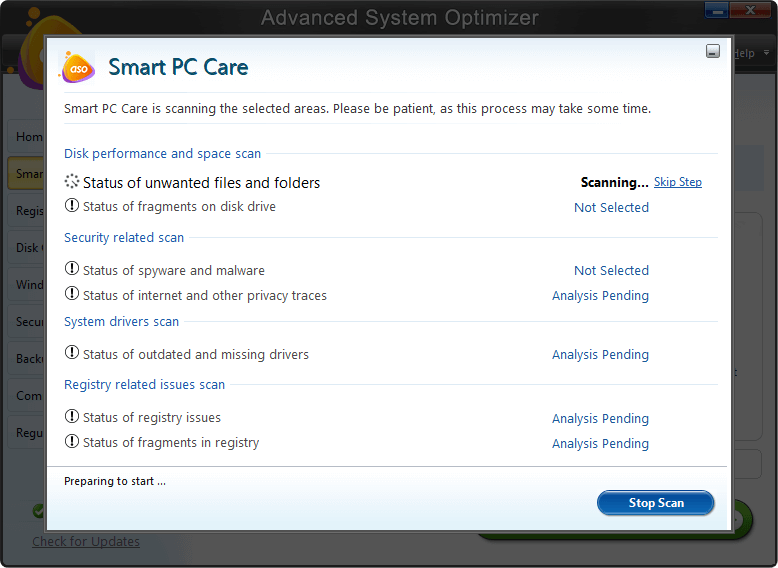
- Click Start Smart PC Care to run the scan and let the scan finish.

- When completed to fix all errors, click Optimize. To know what all errors are detected, click Details.


- In addition, you can run the individual modules and fix errors, clean junk files and fix other issues.
- After scanning the PC for errors, restart the PC to apply changes.
This is how you can delete junk files and optimize your PC using the in-depth PC cleaning tool.
Wrapping Up
So, these were some quick and easy steps to clean junk files and de-clutter the PC. I hope you can eliminate temporary files, invalid registry entries, and more by using them.
The built-in Cleanup feature, Storage sense, Disk Cleanup utility, and third-party temporary file cleaning will help free up space, optimize the PC, and clean junk files.
If you have any questions, feel free to share them with us.
Related :


