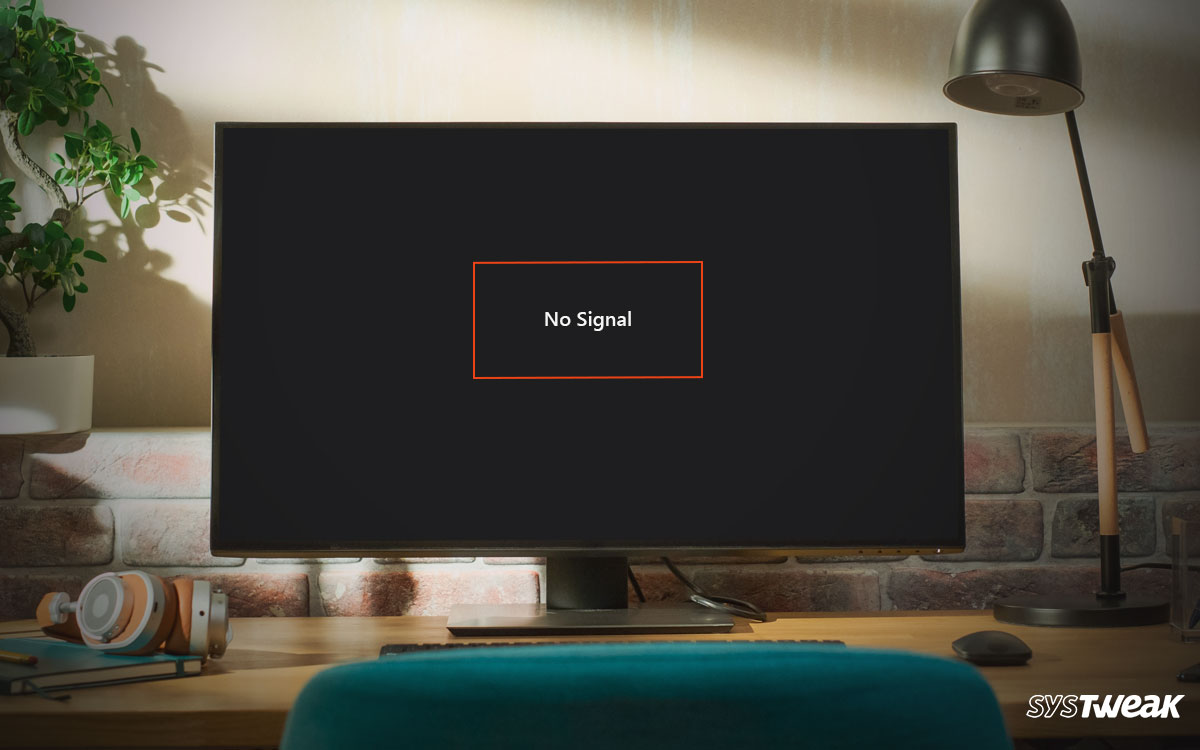
Did you turn on your PC and encounter the no signal error on the monitor? The monitor no signal error reflects that there’s something wrong with the way you have configured the connections between the CPU and the monitor.
50% OFF

BLACK FRIDAY OFFERS
Unlock Black Friday Mega Savings — Systweak Tools FLAT 50% OFF!
The issue is just a glitch for several users and is resolved relatively quickly. However, the issue can often be frustrating if it sticks around longer than expected. If you are facing a similar situation where your monitor cannot receive a signal from the connected PC, this post is for you!
In this one, we will discuss the core causes of why the error appears in the first place. After identifying the issue, we will determine how to fix the no signal on monitor error.
So without further ado, let’s get started, shall we?
What Causes the “No Signal on Monitor” Error on PC?
When the no signal error appears randomly, it is a warning that the components, i.e., the monitor and the CPU, are not connected properly. It appears on your monitor screen when it cannot pick up a signal or input from the device it is connected to, failing to show anything.
Fixing it is a tough nut to crack, considering many reasons that could cause the monitor no signal randomly error on your PC.
Some of the causes that have been identified over the years include –
- Loose Connection
- Faulty Cables
- Outdated Drivers
- Configuration Errors
- Hardware Problems
- Issues with Connection Port
- Incorrect Input Source
- Issues with Display Adapters & Graphics Card
- Monitor Resolution Errors
- Other Minor Errors
The list of issues can go on and on. The no signal on monitor error often fixes itself after a restart. However, sometimes it takes a lot of time and effort. The possibility that something may be wrong with the device is high, considering the types of errors that may appear.
Fortunately, all the issues can be resolved. How? Check out the list of fixes shared in the next section!
How to Fix Monitor No Signal Error
As you can classify from the list of causes, some issues can be quickly resolved, and some may require advanced troubleshooting. However, in both cases, the input signal not found error can be fixed.
Here are some fixes that help you resolve the monitor says no signal error on your PC.
Fix 1 – Check the Connections
First, you should check the connection between the source and the monitor. Sometimes, while moving the setup, the connection might loosen up. All you have to do is
- Check if the cable is connected properly at the monitor’s end.
- Check if the cable is connected properly at the CPU’s end.
Ensure that the connections are fine. If they were not, the issue may be resolved then and there. However, if that is not the case, move to the next fix.
Read Also: Identifying if Your PC Drivers Need Updates! Is there a Way?
Fix 2 – Try Replacing the Cables
If there is no connection problem, the possibility of a faulty cable arises. Try using a different set of connection cables to fix the no-signal error. You can easily procure a spare cable from a friend or buy it from any online website.
Fix 3 – Reset Monitor Configuration
If cables are not at fault, you should move to configure the monitor properly. You can locate physical buttons on your monitor to help you navigate the settings and configuration.
Since every monitor has a different set of options to work with, here are some basic settings that you should look for-
- Input source selected (if you are using a multi-input monitor)
- Display Settings (Set all of them to default)
- Resolution (Ensure selected resolution is supported)
After you have made the changes, save them all and restart your computer. This should fix the input signal not found error for you.
Fix 4 – Try Using a Different Monitor
If the above fixes could not help you out, you should immediately try and swap the monitor. This will help you identify if the issue lies in the monitor or with the PC. If you connect to a different monitor and it works, the error may be with the hardware you have been using.
However, the issue may be with the PC’s display settings if you get the same no signal on the monitor prompt after using a different monitor.
Fix 5 – Check Screen Resolution Settings (Windows)
After you have tried checking your monitor for issues, it is time that you switch your attention to Windows. You should try to fix the screen resolution settings. There are times when you are using a wider aspect ratio than your monitor can support. Not only that, there are multiple other settings that you need to pay attention to.
Here’s how to do so –
Step 1 – Press Win+I to open the System settings on your PC.
Step 2 – You may find the Display option at the top of the list in the settings.

Step 3 – The Display settings offer many options to support the connected monitor. Check if the resolution and scale are set to match the metrics supported by your monitor.

Step 4 – You can move on to Advanced Display settings if you are using multiple output devices or a multi-display setup.

Step 5 – Check and ensure that the source of your connected display is selected for the one you want to access.
Since you have already checked the monitor configuration in one of the previous fixes, you know what resolution your monitor is capable of. Set the settings accordingly, and you should be good to go.
Fix 6 – Update Graphics Drivers
Another thing that you should do is check if the graphics drivers or the display adapters of your PC require an update. This is a crucial step as most users facing the no signal on monitor error come across the situation due to outdated graphics drivers.
There are multiple ways you can update drivers on your PC. However, we recommend choosing the best and easiest, i.e., Advanced Driver Updater. The tool finishes the updates for all the outdated drivers on your PC in just three steps –
Step 1 – Download and install the tool from the link below.

Step 2 – Run a scan for outdated drivers using the Start Scan Now button from the application’s home screen.

Step 3 – Click Update All to finish the process once the scan ends. ( Complete review of the tool )
Once the three steps are complete, restart your computer, and the drivers are updated. Updating the drivers can not only help you fix the input signal not found error but can also smoothen the performance of your PC.
If these fixes did not fix the issue for you, we have a few advanced fixes you can try. However, we recommend only trying them if you are confident enough. If not, feel free to contact a professional who can help you with these. Please remember that the following fixes require you to open your CPU cabinet to check the components.
Fix 7 – Check Graphics Card Placement
The graphics unit is the first thing you should look at after opening up your CPU. Since the display issues are directly related to the graphics, you should physically ensure that the unit is connected firmly and there is no damage to the surface of it. Here are the things to check for –
- Check for loose connections in the unit.
- Ensure that there’s no leakage of thermal insulation
- If you are using liquid cooling, ensure it is not affecting the graphics performance.
- Check if the heat generated by the intense use of graphics has damaged the unit.
Check for these problems; if any of these appear, you should get help from a professional to resolve them instantly.
Fix 8 – Plug Out and Re-Plug RAM Sticks
The next thing to do is to check the RAM sticks. You can find them connected to the slot in the motherboard. There are multiple connections. Some require screws to be fixed, while others stick to the slot. Ensure that, in both cases, the connection is firm.
Secondly, if you see a lot of dirt on the surface of it, there’s no harm in plugging it out and dusting it. Remove all the dirt and dust, clean the port, and connect the RAM sticks back.
Restart the PC again and check if the no signal error is resolved.
Fix 9 – Perform a CMOS Reset
The CMOS is a semiconductor device that powers your motherboard. The Complementary Metal-Oxide Semiconductor plays a crucial role in the functioning of the motherboard. However, if there’s an issue with the same, issues like the monitor not detecting the PC may appear.
Resetting the CMOS can be of great help to you. Here’s how you can do the same –
Please note that the steps are shown, considering that you have shut down the PC and removed all the cables from the device. It is really important to disconnect the power from the motherboard else it might harm your PC.
Step 1 – Spot the CMOS (silver round battery-shaped) component on the motherboard.
Step 2 – Carefully remove it from its slot
Step 3 – Leave it unconnected for a good 5 to 10 minutes.
Step 4 – Slap it back in the slot. Ensure you have brushed away the dust from the slot and the CMOS.
Step 5 – After doing it all, close the cabinet and start your PC.
Other than these, you always have the option to get your motherboard checked for monitor support. Ensure these advanced fixes are only used if none of the basic ones work. Usually, the error is fixed easily as it is just a matter of connection and cables.
No Signal on Monitor – No Problem!
With the help of these fixes, you can easily get rid of situations where you find no signal on your monitor. If you are facing an error where your PC is unable to catch signals properly, please do not underestimate it and get it fixed earliest, as it may turn into a problem bigger than it usually is.
Hope all this information was helpful enough to assist you with the monitor not detecting pc issue. Feel free to leave a comment in case of any confusion, and we will reply as soon as possible. Thanks for reading. Good luck!
Recommended :
How To Solve Generic Non-PnP Monitor Driver Issues
Laptop Not Turning On Issues Taking Over? Here are 10 Ways To Fix Them
Fixed – No DP Signal From Your Device Monitor (Dell)