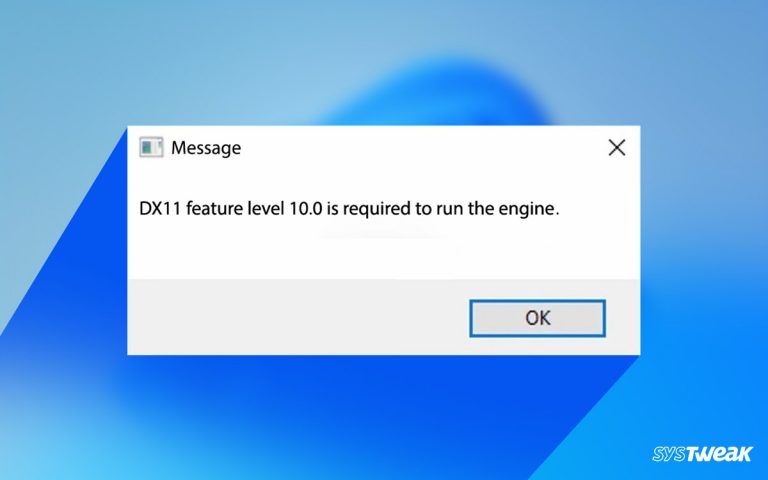
After updating the latest version of Windows, many Windows users have reported experiencing problems with NVIDIA drivers. Due to this, the graphics card has stopped working, and users face display issues. Since then, new updates have been released to fix this problem, but the results vary from device to device due to PC configurations. If you face a similar problem and are looking for ways to update or roll back NVIDIA drivers in Windows 10, read along; here, we will explain how to roll back NVIDIA drivers.
50% OFF

BLACK FRIDAY OFFERS
Unlock Black Friday Mega Savings — Systweak Tools FLAT 50% OFF!
Must Read: How To Update Generic Bluetooth Radio Driver for Windows 11,10
Issues You Can Face Due to Installing Old NVIDIA Drivers
- Encountering Blue Screen of Death (BSOD) when attempting to play games.
- Decreased Frame Rates per Second (FPS).
- Sudden interruptions when playing specific games.
Generally, updating the driver helps fix these issues and enhances system performance. However, as each PC configuration is different, sometimes compatibility issues occur due to updates. To fix these issues, rolling back drivers is a good idea.
Short on Time? Try this Easy Solution to Update Drivers
Download and install Advanced Driver Updater to save yourself from the trouble of manually updating drivers. The software detects the system and device configuration and shows compatible driver updates. Using either the registered or trial version, you can easily update outdated drivers and fix issues caused due to installing old NVIDIA drivers.
Most importantly, before updating drivers, Advanced Driver Updater takes a complete backup of old drivers; this helps restore previous versions (if anything goes wrong)
Download Advanced Driver Updater

How To RollBack NVIDIA Drivers in Windows 10
Windows provides an easy way to restore the previous version if you face an issue after updating a driver. While the process of rolling back drivers is easy, however, you might still face issues. This guide will explain both ways: roll back drivers and update drivers automatically to fix issues.
Read Also : How To Download & Update Nvidia GeForce Game Ready Driver
Rolling Back Drivers Using Device Manager
Windows offers a built-in functionality known as Device Manager to manage driver updates. With its help, you can uninstall drivers, update drivers, rollback drivers and do a lot more. If you face issues with the NVIDIA driver after updating Windows or the driver, follow these steps to roll back NVIDIA drivers.
1. Press Windows + X > select Device Manager
2. Look for the Display Adapters section in the Device Manager window. Double click on it to expand the category.
3. You will now get a list of currently installed drivers. Select the NVIDIA device > right-click > Properties.
4. This will open a new window. To rollback, the NVIDIA driver click the Driver tab > Roll Back Driver.

5. Give a reason to rollback driver; this helps track down the issue and fix it to provide a seamless experience.

6. Select the specific issue you are facing; it will help Microsoft fix it ASAP.
7. Click Yes to proceed with the roll-back process.
8. Windows will uninstall the current driver and reinstall the previous version in the background.
Note : While the process is taking place, you won’t be able to access the Driver Properties window. When done, you’ll see the change in the Driver version.
9. Once the driver is rolled back, the Roll Back option will be greyed out
However, if the Roll Back greyed out before you can follow the above steps read further.
What to do if Roll Back Driver is Greyed Out?
Windows cannot find the NVIDIA driver to restore if the Roll Back Driver button is greyed out. In such a situation, you will need to download and install the older version of NVIDIA manually. Follow the steps to learn how to install old Nvidia drivers on Windows 10:
1. Press Windows + X > Device Manager
2. Double click Display Adapters > right-click NVIDIA > Update Driver.
3. Select Browse my computer for driver software.
4. Click Browse > select the downloaded NVIDIA driver you got from the manufacturer’s website > Open.

5. Click Next to process and wait for Windows to install the drivers. Right-click the NVIDIA driver > Properties > Driver tab > and look for the version when done.
6. Restart the system to apply changes.
Update Correct NVIDIA Driver Automatically Using Advanced Driver Updater
If you don’t have time to roll back NVIDIA drivers and install the correct driver from the manufacturer’s website, we recommend using Advanced Driver Updater. Using this ultimate driver updating tool in no time, you can detect and update the compatible NVIDIA driver for your system.
Advanced Driver Updater automatically detects the system and finds the correct drivers. To use the best driver updater, you don’t need to know the details of the system you are running. Also, the risk of manually downloading incorrect drivers is eliminated when using Advanced Driver Updater.
You can update your drivers automatically with either the FREE or the registered version. However, the registered version takes just 2 clicks to update all outdated drivers. Also, you get a 60-day money-back guarantee.
To use Advanced Driver Updater, follow these steps:
1. Download and install Advanced Driver Updater.
2. Launch the driver updating tool and click Start Scan Now to scan the system for outdated drivers.

3. Review scan results. If using the trial version, click Update driver next to NVIDIA driver. However, if you use the registered version, you can click the Update All button to update all out dated driver.

4. Restart the system to apply changes.
FAQ-Rollback NVIDIA Drivers
Wrap Up
Hopefully, the steps explained above have answered how to install old Nvidia drivers on Windows 10, and you’ve learned how to roll back the NVIDIA driver and update to the latest version of the driver. To easily update the drivers and never face problems caused due to outdated drivers, use Advanced Driver Updater. This excellent driver updater will scan the system and show compatible drier updates in no time. Feel free to comment if you have questions, suggestions, or feedback.
Click Here: How To Fix Windows 11 Bluetooth Not Working Problem